Part of our Cricut guides – step-by-step help for UK crafters.
Part of our iron-on vinyl guide, which covers every HTV type and project.
Using iron-on vinyl with a Cricut is simple once you know three things: mirror your design, cut with the shiny side down, and press with firm, steady heat. This guide walks you through each step, from Design Space to your finished T-shirt. If you need supplies, have a look at our iron-on vinyl range.
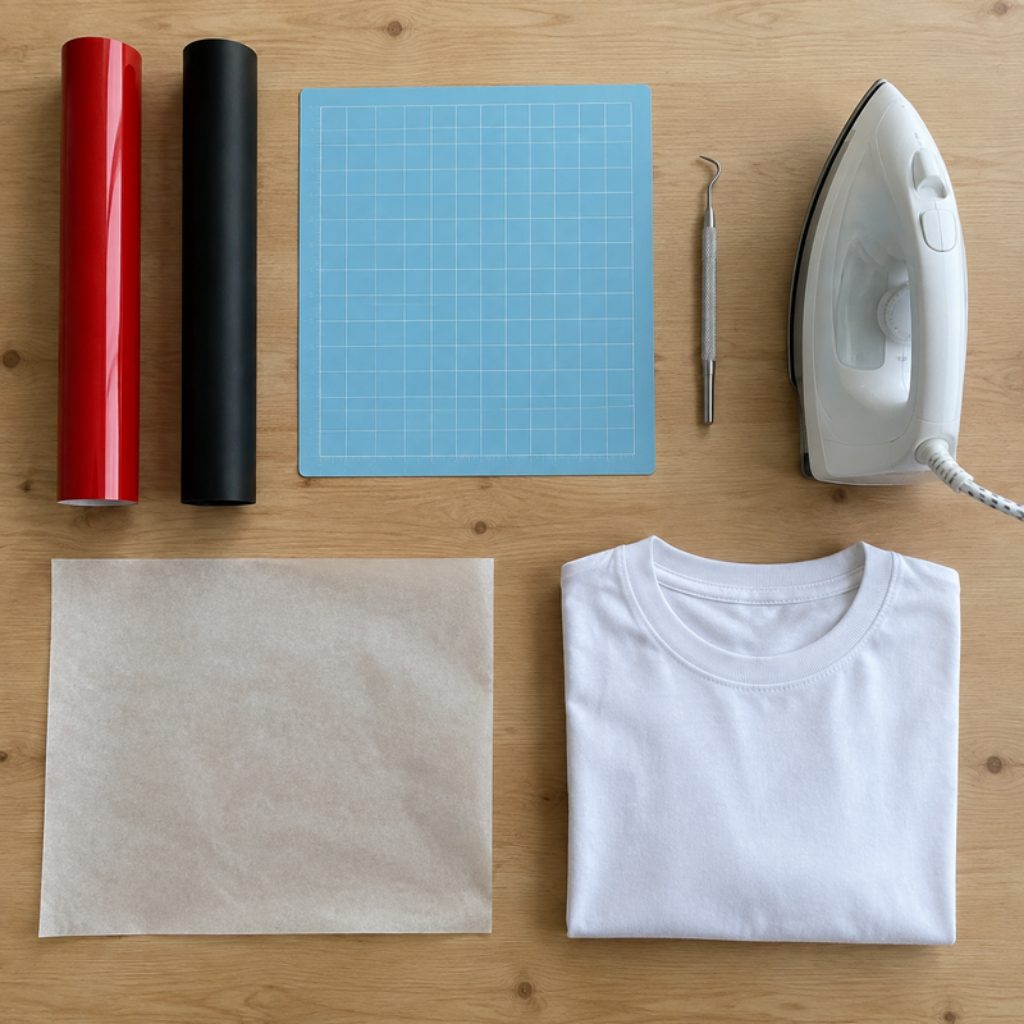
What you need
- A Cricut machine (Joy, Explore or Maker)
- Iron-on vinyl (also called HTV or heat transfer vinyl)
- A standard grip or light grip cutting mat
- A weeding tool
- A household iron, Cricut EasyPress or heat press
- Baking paper or a Teflon sheet
- A cotton or polyester-cotton blank, such as a T-shirt or tote bag
Step 1: Set up your design in Design Space
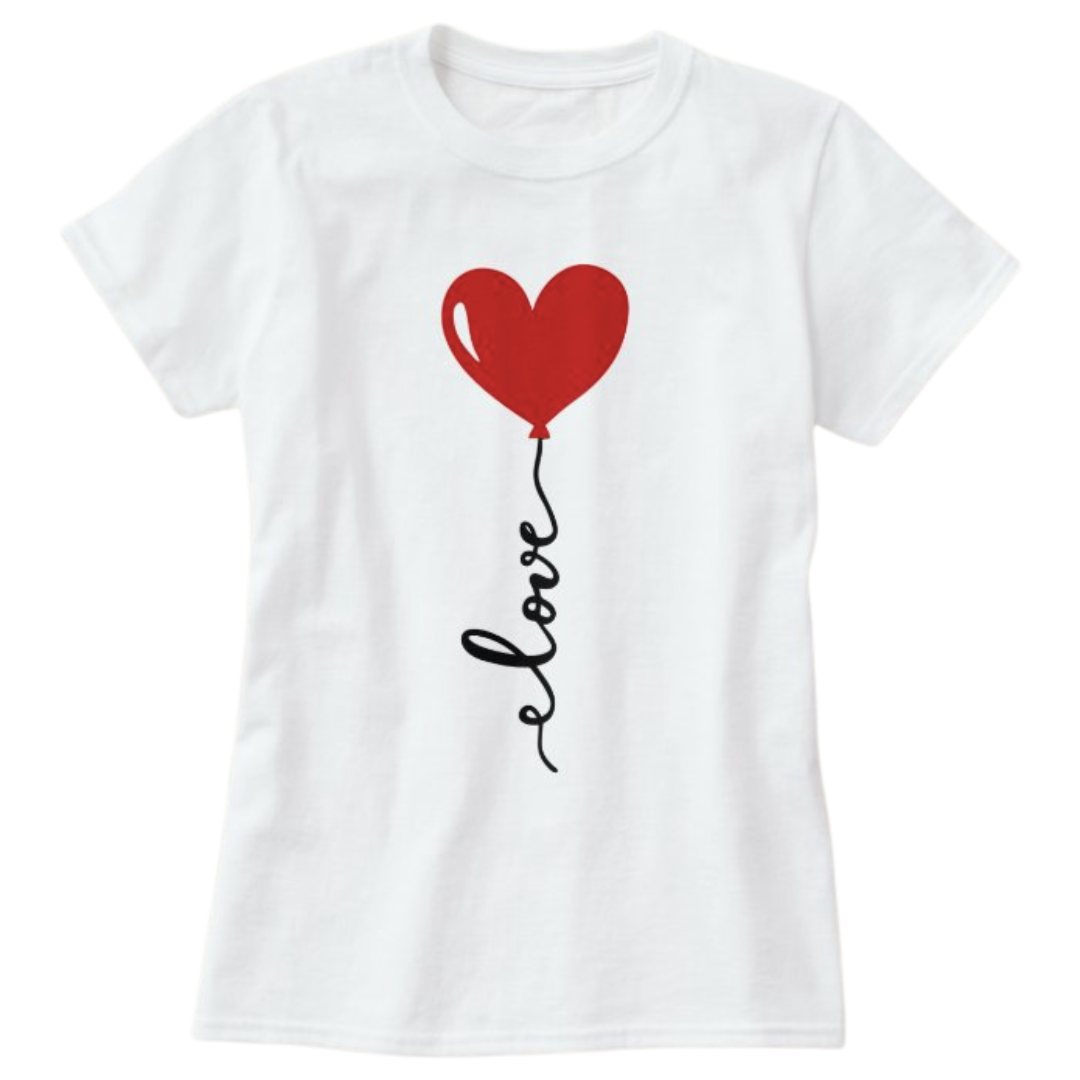
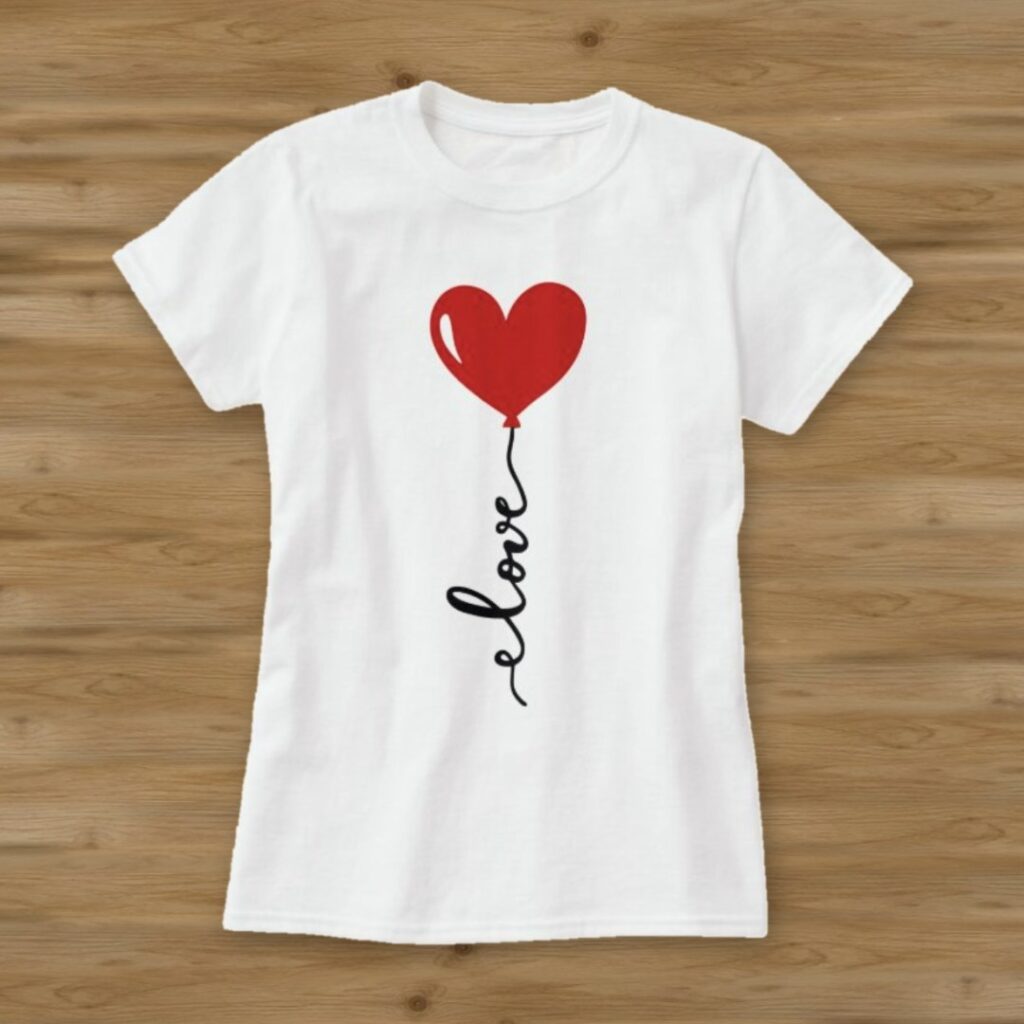
Want a design to practise with? Download our free heart design, the same one on the T-shirt above. Unzip the file, then upload the SVG to Design Space.
Open your design in Cricut Design Space and click Make. On the mat preview screen, switch on Mirror. This is the step most beginners forget. Iron-on vinyl is cut from the back, so the design must be reversed to read the right way once it is pressed.

Step 2: Place the vinyl shiny side down
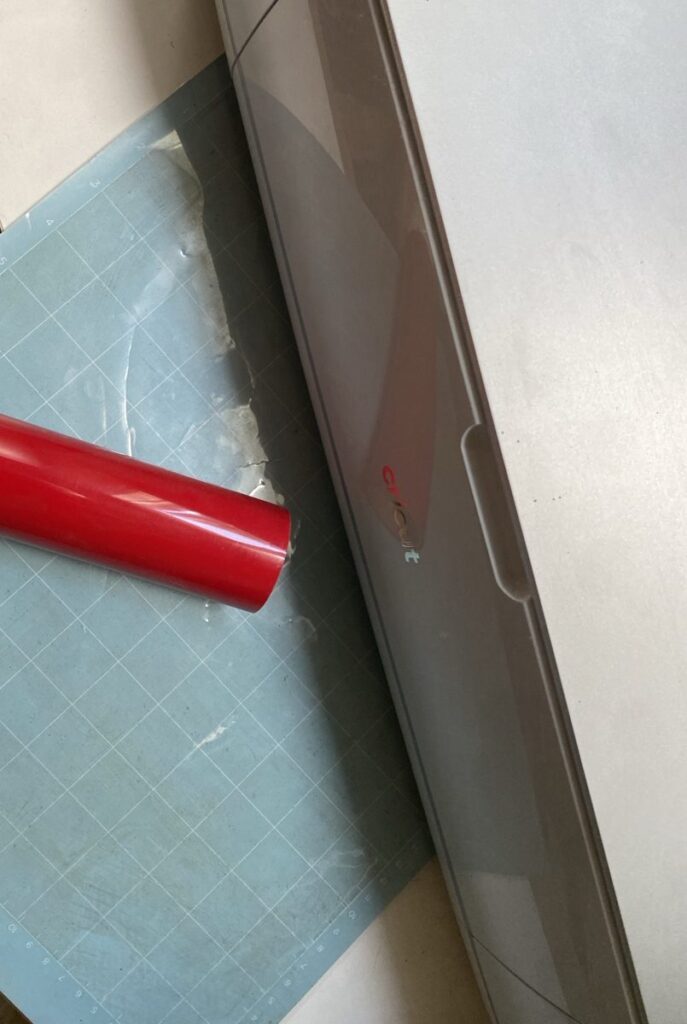
Put the vinyl on your mat with the shiny side down. The shiny side is the clear carrier sheet that holds your design together. The dull side is the adhesive, and that is the side the blade cuts. In the material settings, choose Everyday Iron-On (or the closest match for your vinyl), then load the mat and cut.
Step 3: Weed your design
Weeding means peeling away the vinyl you don’t need, so only your design is left on the carrier sheet. Start at one corner and use your weeding tool for the small inside pieces, such as the centres of letters like “o” and “e”. Good lighting makes this much easier.
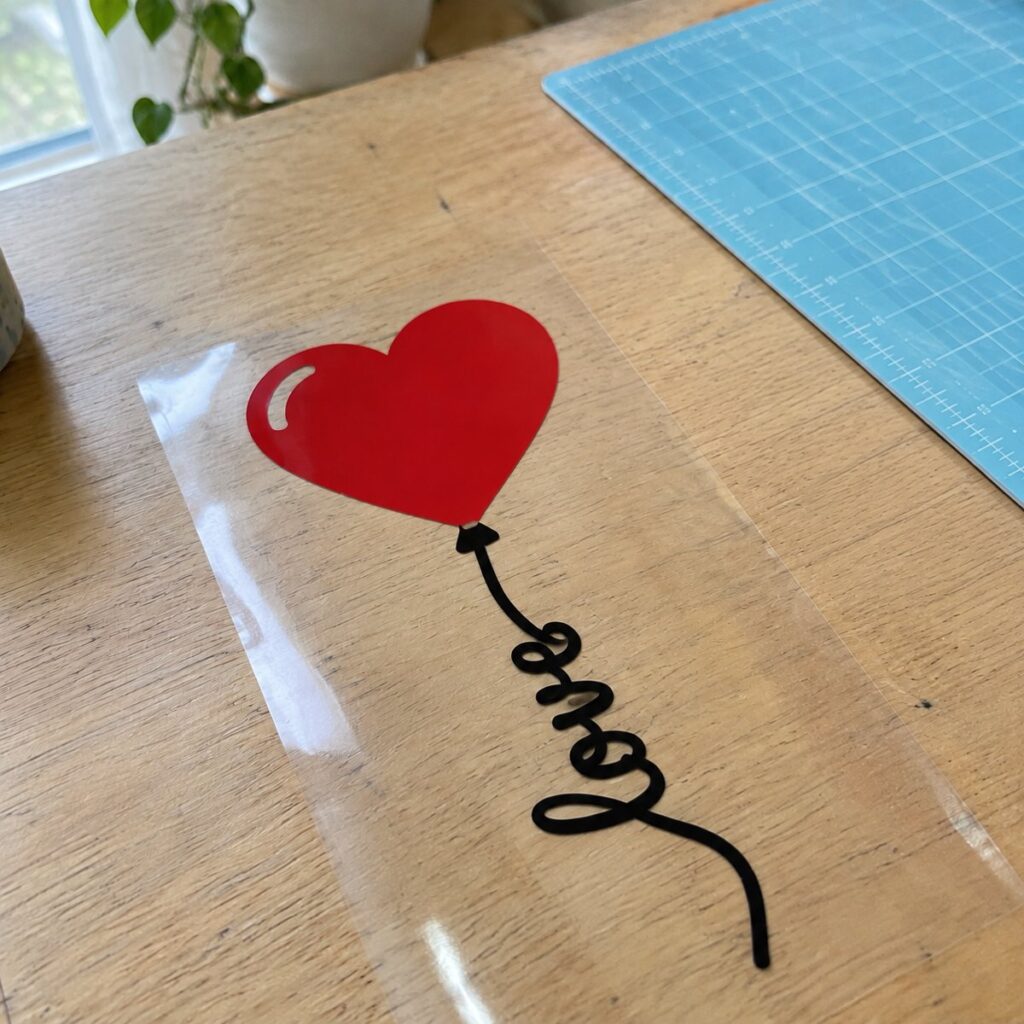
Step 4: Press the design onto your fabric
Pre-press your blank for about 5 seconds to remove moisture and creases. Place the design on the fabric with the shiny carrier sheet facing up, and cover it with baking paper or a Teflon sheet.
- With a household iron: use the cotton setting with the steam turned off. Press firmly in one spot for 20 to 30 seconds, then lift and move on. Don’t slide the iron around.
- With an EasyPress or heat press: follow the temperature and time on your vinyl’s instructions. Most standard iron-on vinyl presses at around 150 to 160°C for 10 to 30 seconds.
Then turn the fabric over and press the back for 10 to 15 seconds. This helps the adhesive grip the fibres.
Step 5: Peel the carrier sheet
Check whether your vinyl is a warm peel or a cold peel, and peel the clear sheet off slowly at an angle. If any part of the design lifts, lay the sheet back down and press again for a few more seconds.
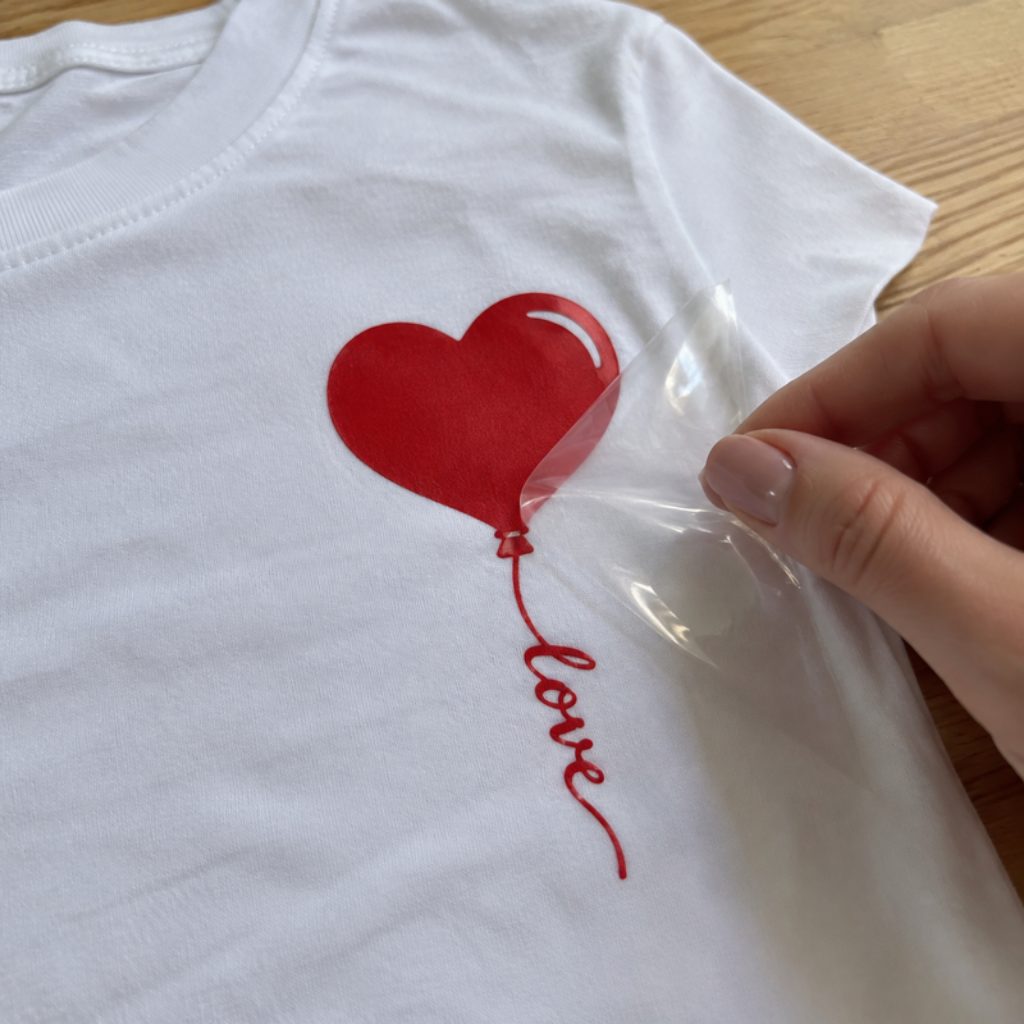
Tips for a long-lasting finish
- Wait 24 hours before washing.
- Wash inside out at 30 to 40°C.
- Avoid fabric softener and bleach.
- Don’t iron directly over the design.
Common mistakes to avoid
- Back-to-front text: you forgot to switch on Mirror.
- The blade didn’t cut through: the vinyl was shiny side up.
- The design is peeling after washing: not enough heat, pressure or time. Press again with firmer pressure.
Frequently asked questions
Is iron-on vinyl shiny side down?
Yes. When cutting with a Cricut, place iron-on vinyl shiny side down on the mat. The shiny side is the clear carrier sheet, and the blade needs to cut the dull adhesive side. When you press, it is the other way round: the shiny side faces up, so the adhesive touches the fabric.
Do I need to mirror my design for iron-on vinyl?
Yes. Always switch on Mirror in Design Space before cutting. Because the vinyl is cut from the back, a design that isn’t mirrored will come out back to front.
Can I use a normal iron instead of an EasyPress?
Yes. A household iron works well. Use the cotton setting with the steam off, press firmly without sliding, and hold each section for 20 to 30 seconds.
Ready to start your first project?
Iron-on vinyl is one of the easiest ways to make personalised T-shirts, bags and gifts with your Cricut. Browse our Cricut-compatible iron-on vinyl in plain colours, glitter and more, with free shipping all over the UK.