Iron-On Vinyl (HTV)
Iron-on vinyl, also called heat transfer vinyl or HTV, is the easy way to put your own designs on T-shirts, tote bags, hoodies, cushion covers and baby vests. Cut it on your Cricut or Silhouette, weed away the extra, then press it on with a heat press or a household iron.
Our Cricut-compatible and Silhouette-compatible iron-on vinyl comes in smooth, glitter, 3D puff and reflective finishes, as single rolls or money-saving bundles.
UK dispatch · Free shipping all over the UK · Free 14-day returns · Questions? Freephone 0800 211 8244
Showing all 27 results
-

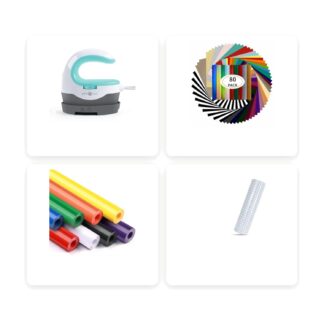
Craft Studio Kit – Mini Heat Press + 80 Iron-On Vinyl Sheets + 8 Adhesive Vinyl Rolls + Transfer Tape – Cricut-Compatible
Sale! Original price was: £219.98.£109.99Current price is: £109.99. Add to basket -
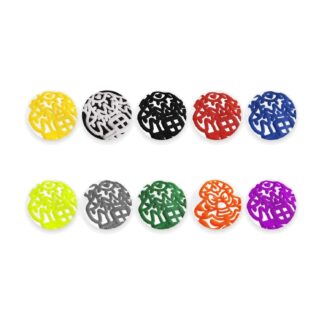
Puff Vinyl Bundle – 10 Colours of 3D Puff Iron-On Vinyl (HTV), 25 × 30 cm Sheets – Cricut-Compatible
Sale! Original price was: £59.99.£29.99Current price is: £29.99. Add to basket -
14 HTV Vinyl Rolls · 12.6 Metres Total · Enough for 15 to 30 Iron-On Projects
Sale! Original price was: £94.99.£47.49Current price is: £47.49. Add to basket -
28-Piece HTV Heat Transfer Vinyl Set – PU Vinyl Rolls (30.5 × 20 cm Each)
Sale! Original price was: £159.99.£79.98Current price is: £79.98. Add to basket -
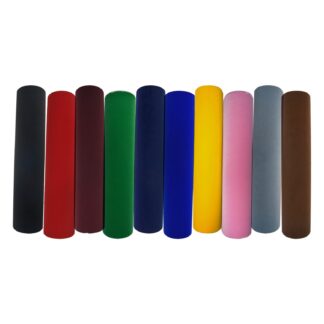
Flock Iron-On Vinyl – 10 Sheets 25 × 20 cm (Black, Red, Green, Navy & More) – Velvet HTV – Cricut-Compatible
Sale! Original price was: £65.99.£32.99Current price is: £32.99. Add to basket -
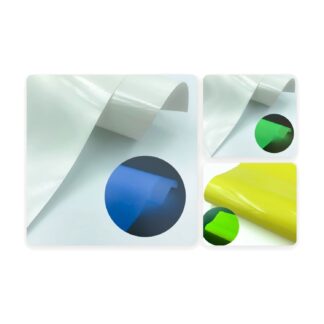
Glow-in-the-Dark Iron-On Vinyl – 6 Sheets 30 × 25 cm (Blue, Green & Yellow Glow) – Heat Transfer Vinyl (HTV) – Cricut-Compatible
Sale! Original price was: £55.99.£27.99Current price is: £27.99. Add to basket -
HTV Iron-On Vinyl Roll 30 x 3000 cm – Black
Sale! Original price was: £179.99.£89.98Current price is: £89.98. Add to basket -
HTV Iron-On Vinyl Roll 30 x 3000 cm – White
Sale! Original price was: £179.99.£89.98Current price is: £89.98. Add to basket -
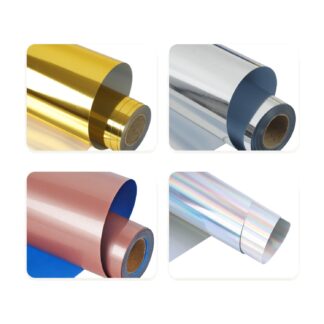
Metallic Iron-On Vinyl Bundle – 4 Rolls 30.5 × 91 cm (Gold, Silver, Rose Gold & Holographic) – HTV – Cricut-Compatible
Sale! Original price was: £69.99.£34.99Current price is: £34.99. Add to basket -
PU Heat Transfer Vinyl 30 x 25 cm – 35 Sheets Multicolour HTV Bundle
Sale! Original price was: £79.99.£39.99Current price is: £39.99. Add to basket -
PU Heat Transfer Vinyl 30 x 25 cm – 47 Sheets Multicolour HTV Bundle
Sale! Original price was: £99.99.£49.99Current price is: £49.99. Add to basket -
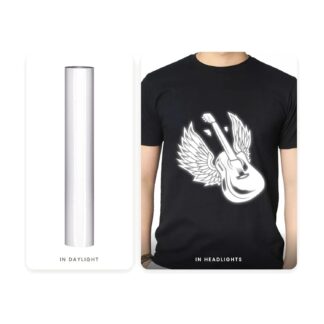
Reflective Iron-On Vinyl Roll 30.5 cm × 3 m – Silver-White Reflective Heat Transfer Vinyl (HTV) – Cricut-Compatible
Sale! Original price was: £45.99.£22.99Current price is: £22.99. Add to basket -
Silhouette-Compatible Chameleon Iron-On Vinyl Sheets 30.5 x 30.5 cm – 12 Pack Colour Shift HTV Vinyl for Cameo & Portrait
Sale! Original price was: £49.99.£24.99Current price is: £24.99. Add to basket -
Silhouette-Compatible Glitter HTV Heat Transfer Vinyl Sheets 30 x 25 cm – 13 Pack (12 Sheets + Heat-Resistant Sheet)
Sale! Original price was: £60.00.£29.99Current price is: £29.99. Add to basket -
Silhouette-Compatible Glitter HTV Vinyl Bundle – 12 Rolls 25 × 150 cm Iron-On for T-Shirts & Fabric
Sale! Original price was: £239.99.£119.97Current price is: £119.97. Add to basket -
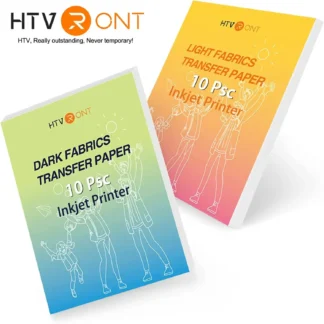
Silhouette-Compatible Heat Transfer Paper A4 20 Sheets – Inkjet Iron-On for Light & Dark Fabrics
Sale! Original price was: £79.99.£39.99Current price is: £39.99. Add to basket -
Silhouette-Compatible HTV Heat Transfer Vinyl Bundle 14 Rolls 30 × 90 cm PU Iron-On
Sale! Original price was: £94.99.£47.49Current price is: £47.49. Add to basket -
Silhouette-Compatible HTV Iron-On Vinyl Roll 30 x 3000 cm – Black Heat Transfer Vinyl for Cameo & Portrait
Sale! Original price was: £179.99.£89.98Current price is: £89.98. Add to basket -
Silhouette-Compatible HTV Iron-On Vinyl Roll 30 x 3000 cm – White Heat Transfer Vinyl for Cameo & Portrait
Sale! Original price was: £179.99.£89.98Current price is: £89.98. Add to basket -
Silhouette-Compatible HTV Vinyl Bundle – 12 Rolls 30 × 150 cm Iron-On
Sale! Original price was: £119.99.£59.98Current price is: £59.98. Add to basket -
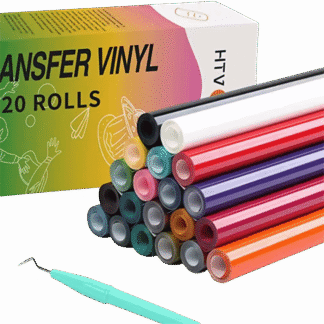
Silhouette-Compatible HTV Vinyl Bundle 20 Rolls – 30.5 x 91 cm Iron-On Pack
Sale! Original price was: £99.99.£59.99Current price is: £59.99. Add to basket -
Silhouette-Compatible HTV Vinyl Bundle 3.92 m – Red & Black Iron-On Heat Transfer Vinyl Set
Sale! Original price was: £49.99.£24.99Current price is: £24.99. Add to basket -
Silhouette-Compatible HTV Vinyl Sheets 28 Pack – 30.5 x 20 cm Heat Transfer Vinyl Set
Sale! Original price was: £159.99.£79.98Current price is: £79.98. Add to basket -
Silhouette-Compatible HTV Vinyl Sheets 30 x 25 cm – 47 Pack Heat Transfer Vinyl Bundle
Sale! Original price was: £99.99.£49.99Current price is: £49.99. Add to basket -
Silhouette-Compatible HTV Vinyl Sheets Bundle – 80 Pack 30 × 25 cm Iron-On for T-Shirts & Fabric
Sale! Original price was: £119.99.£59.98Current price is: £59.98. Add to basket -
Silhouette-Compatible Iron-On Vinyl Sheets 30 x 25 cm – 35 Pack Multicolour HTV for T-Shirts and Fabric
Sale! Original price was: £79.99.£39.99Current price is: £39.99. Add to basket -
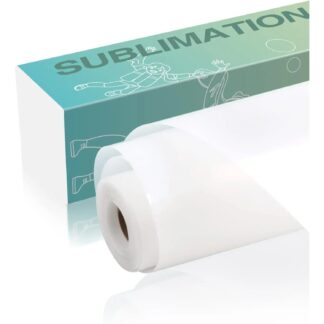
Sublimation Vinyl for Cotton T-Shirts – Clear Matte Sublimation HTV Roll, 30.5 cm × 6 m
Sale! Original price was: £39.99.£29.99Current price is: £29.99. Add to basket












Showing all 27 results
Which iron-on vinyl do I need?
| Type | Best for | Good to know |
|---|---|---|
| Smooth (PU) iron-on vinyl | T-shirts, totes, school names, baby vests | Thin, soft and stretchy; the easiest to weed and the best place to start |
| Glitter iron-on vinyl | Party T-shirts, hen-do tops, Christmas jumpers | Thicker, with real sparkle; use bold shapes rather than fine script |
| 3D puff vinyl | Hoodies, bold slogans, kids’ clothes | Rises when heated for a raised, textured look |
| Reflective iron-on vinyl | School bags, dog coats, cycling and running kit | Shines brightly in headlights at night |
| Sublimation HTV | Full-colour prints on cotton | Lets you sublimate onto cotton and dark fabrics |
| Bundles and kits | Trying lots of colours, or starting from scratch | The best value per sheet; the Craft Studio Kit includes a mini heat press |
Iron-on vinyl for Cricut and Silhouette
Our iron-on vinyl is Cricut-compatible and Silhouette-compatible. It cuts on the Cricut Joy, Joy Xtra, Explore and Maker, and on the Silhouette Cameo and Portrait. In Design Space or Silhouette Studio, choose the closest iron-on material setting and always do a small test cut on a new roll.
How to use iron-on vinyl in 5 steps
- Mirror your design. Iron-on vinyl is cut from the back, so switch on Mirror before cutting.
- Shiny side down. Place the vinyl on the mat with the shiny carrier sheet facing down, so the blade cuts the vinyl and not the carrier.
- Cut and weed. Remove everything you don’t want, including the centres of letters, with a weeding tool.
- Press. Pre-press the fabric for a few seconds to remove moisture. Then press using the temperature, time and pressure on your vinyl’s instructions, on a firm surface rather than an ironing board.
- Peel. Peel the carrier hot or cold as the instructions say, then wait 24 hours before washing.
Want the full walkthrough? Read our guide on how to use iron-on vinyl with Cricut.
Heat press or iron?
A household iron works for small designs; turn the steam off and press firmly without sliding. A mini heat press gives even heat across the whole design, so it’s quicker and lasts longer in the wash. A full-size heat press is worth it once you make several T-shirts a week. See our heat presses.
Looking after your iron-on designs
Turn garments inside out, wash on a cool cycle and skip fabric softener. Don’t iron directly over the design. Done right, iron-on vinyl lasts for years of wear.
Why crafters buy iron-on vinyl from CraftsVinyl
- UK dispatch and free shipping all over the UK
- Free 14-day returns
- Real help from real crafters: Freephone 0800 211 8244 or WhatsApp 07441 425 993
- Free how-to guides to get you started
More for your iron-on projects: heat presses · weeding tools and accessories · SVG cut files
Frequently asked questions
What is iron-on vinyl?
Iron-on vinyl, also called heat transfer vinyl or HTV, is a thin vinyl with a heat-activated glue on the back. You cut your design, then press it onto fabric with heat so it bonds to the fibres.
Is iron-on vinyl the same as heat transfer vinyl?
Yes. Iron-on vinyl, heat transfer vinyl and HTV are three names for the same material.
Which side of iron-on vinyl goes down on the mat?
The shiny side goes down. That’s the clear carrier sheet, which holds your design in place while you press it.
Do I need to mirror iron-on vinyl?
Yes, always. Iron-on vinyl is cut from the back, so mirror your design before cutting or your words will come out backwards.
Can I use a normal iron instead of a heat press?
Yes, for small designs. Turn the steam off, press firmly on a hard surface and follow the time on the vinyl’s instructions. A heat press gives more even heat and a longer-lasting finish.
Does your iron-on vinyl work with Cricut and Silhouette?
Yes. It’s Cricut-compatible and Silhouette-compatible, and it cuts on the Cricut Joy, Explore and Maker and the Silhouette Cameo and Portrait. Choose the closest iron-on setting and do a test cut first.
How do I remove iron-on vinyl?
Heat the design with an iron or heat press to soften the glue, then peel it off slowly with tweezers while it’s warm. Any leftover glue usually comes off with a little heat and patience.