
Transfer Tape
Transfer tape lifts your weeded adhesive vinyl design off its backing in one piece and places it exactly where you want it, on mugs, glass, walls and signs.
Our clear transfer tape lets you see your surface as you line up the design, so letters and shapes go on straight first time.
Showing all 2 results
-

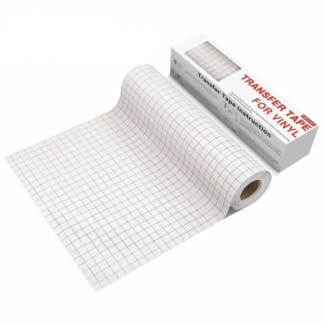
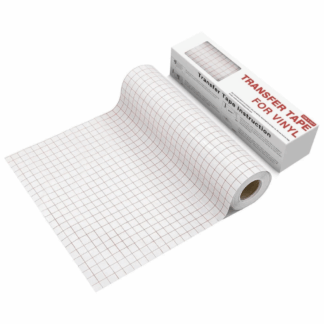
Cricut-Compatible 30 cm × 15 m Transfer Tape
Sale! Original price was: £39.99.£19.99Current price is: £19.99. Add to basket -
Silhouette-Compatible Transfer Tape Roll – 30.5 cm × 15 m – Clear Application Tape with Red Grid for Adhesive Vinyl
Sale! Original price was: £39.99.£19.99Current price is: £19.99. Add to basket
Showing all 2 results
How to use transfer tape in 5 steps
- Cut a piece slightly larger than your design.
- Peel and place. Peel off the backing and lay the tape over your weeded vinyl, sticky side down.
- Rub it down firmly with a scraper so the vinyl sticks to the tape.
- Lift. Peel the vinyl’s paper backing away, keeping the design on the tape.
- Apply. Place it on a clean surface, rub it down well and peel the tape back slowly at a sharp angle.
Transfer tape tips
If the vinyl won’t let go of the tape, rub it down harder and peel more slowly. If the tape lifts the vinyl too easily from the surface, stick the tape to a clean T-shirt a couple of times first to reduce the tack. Transfer tape isn’t needed for iron-on vinyl, which has its own carrier sheet.
Why crafters buy transfer tape from CraftsVinyl
- UK dispatch and free shipping all over the UK
- Free 14-day returns
- Real help from real crafters: Freephone 0800 211 8244 or WhatsApp 07441 425 993
- Free how-to guides to get you started
More for your projects: adhesive vinyl · cutting mats · weeding tools
Frequently asked questions
What is transfer tape used for?
Transfer tape moves a weeded adhesive vinyl design from its paper backing onto your surface in one piece, keeping letters perfectly spaced.
Do I need transfer tape for iron-on vinyl?
No. Iron-on vinyl has a built-in clear carrier sheet, so transfer tape is only needed for adhesive vinyl.
Can I reuse transfer tape?
Yes. You can often reuse a piece several times for small designs, as long as it still grips the vinyl.